Webhooks (event ingestion)
Webhooks let external products push events and alerts into Huntbase. Each webhook is an ingestion endpoint attached to one of your connections: Huntbase issues a unique ingest URL, your product POSTs JSON events to it, and Huntbase attributes those events to that connection so they sit alongside the data you pull from it.
Huntbase also offers a general-purpose webhook for ingesting OCSF-formatted alerts, so detection sources without a dedicated catalog product can still feed Huntbase — see OCSF and the Changelog.
This feature is currently rolling out and may not be enabled for your organization.
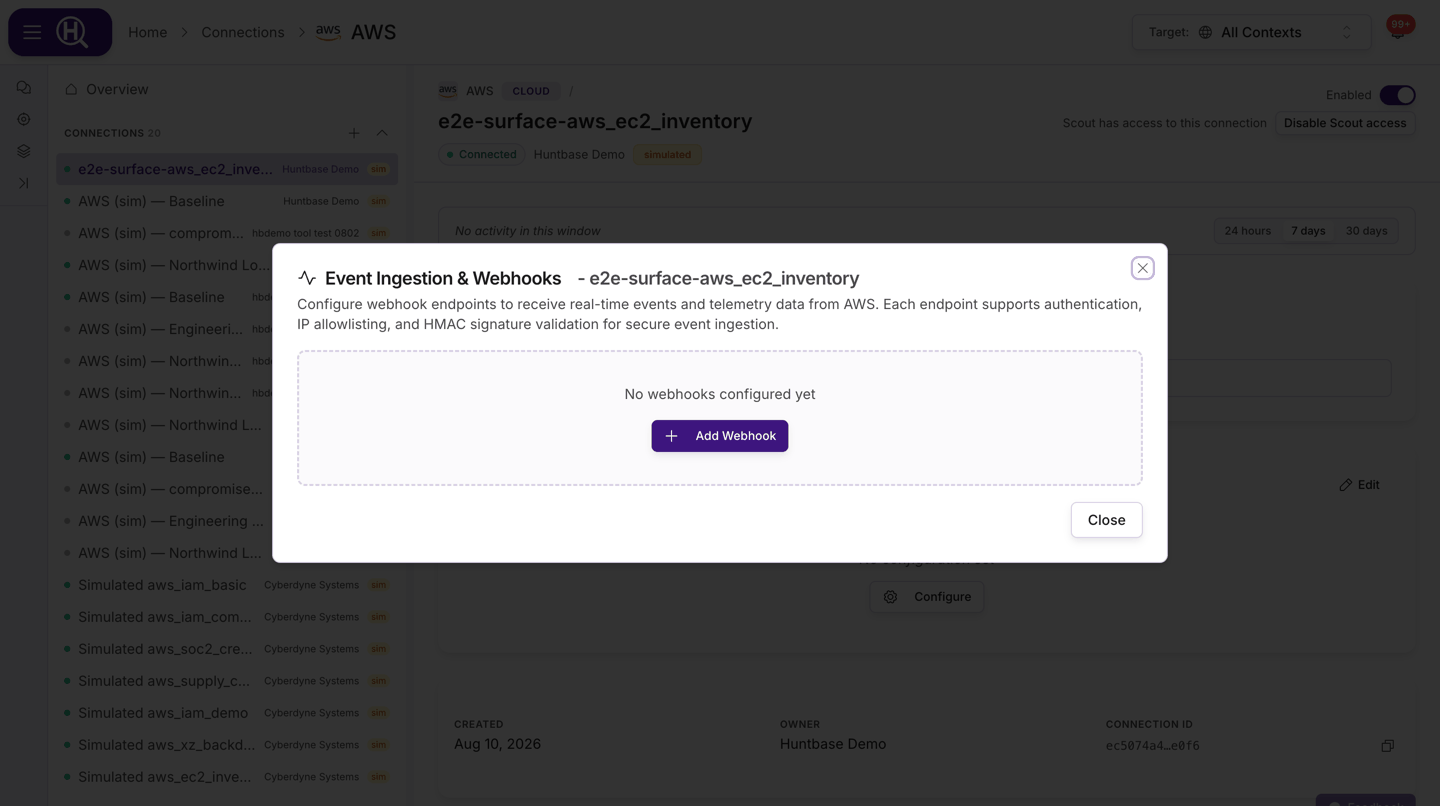
Where to find it
- Open Connections and open the connection you want events attributed to.
- Click the Webhooks card. It shows how many endpoints are active and paused.
- The Event Ingestion & Webhooks modal opens with the endpoints for that connection.
A connection can have as many webhooks as you need — for example one per sending system, so you can pause or rotate them independently.
Create a webhook
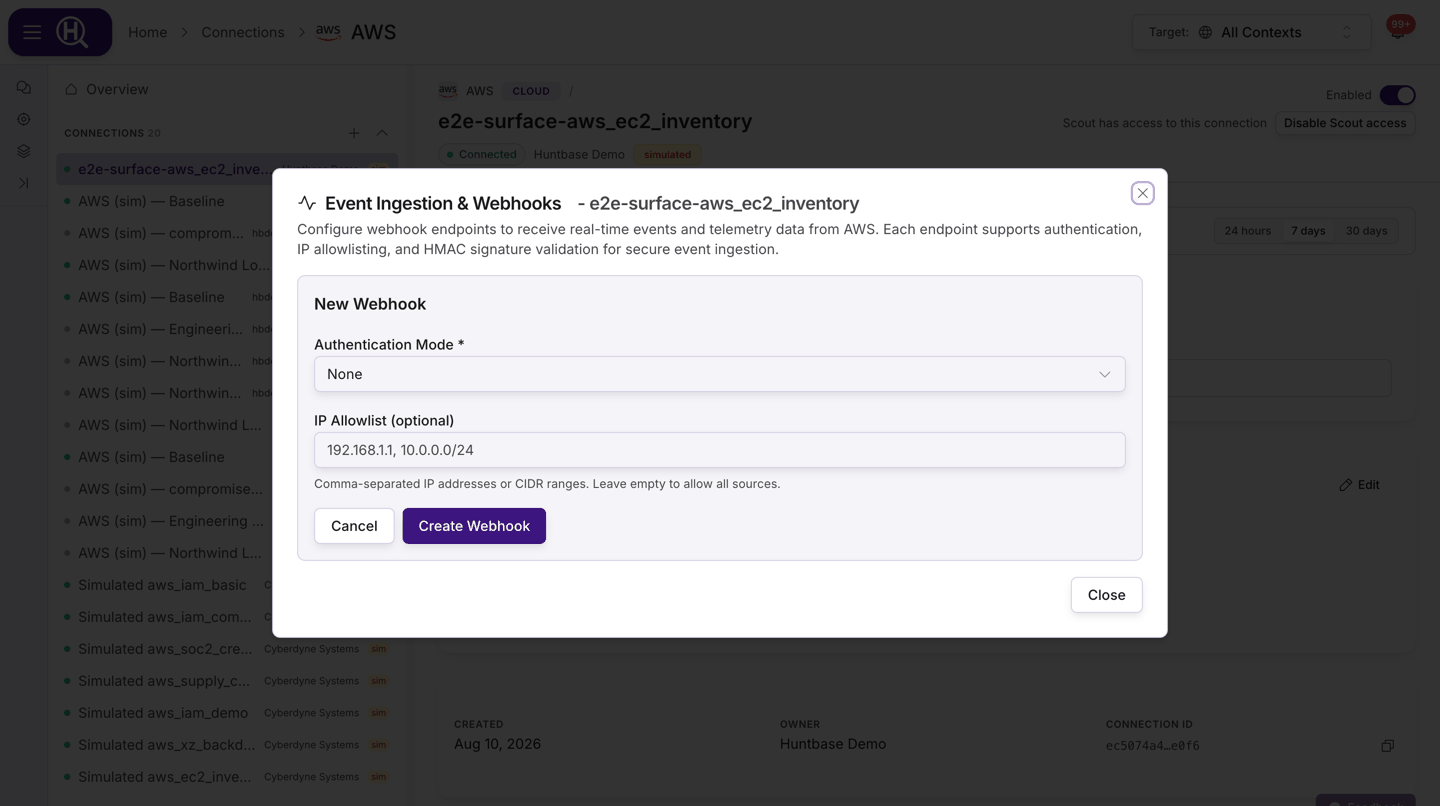
- In the modal, click Add Webhook (or Add Another Webhook if some already exist).
- Choose the Authentication Mode the sender will use and fill in the fields for that mode:
| Authentication Mode | Fields | What the sender must do |
|---|---|---|
| None | — | Nothing; anyone who knows the URL can post. Combine with an IP allowlist. |
| Basic Auth | Username, Password | Send HTTP Basic credentials. |
| JWT (Bearer Token) | JWT Secret | Send a bearer token signed with the secret. |
| Custom Header | Header Name (e.g. X-API-Key), Header Value | Send that header with the exact value. |
| HMAC Signature | HMAC Secret | Sign each request body with HMAC-SHA256 and send the signature in X-Webhook-Signature. |
- Optionally set an IP Allowlist — comma-separated IP addresses or CIDR ranges (for example
192.168.1.1, 10.0.0.0/24). Leave it empty to allow all sources. - Click Create Webhook.
The new endpoint appears in the table with its generated Endpoint URL. Use the copy button next to it and paste it into the sending product.
Prefer HMAC Signature or Custom Header over None for anything reachable from the internet, and add an IP allowlist when the sender has stable egress addresses.
Manage endpoints
The table in the modal lists every webhook on the connection:
| Column | Description |
|---|---|
| Endpoint URL | The ingest URL Huntbase issued, with a copy button. |
| Status | active or paused. |
| Auth | The authentication mode configured for the endpoint. |
| Health | Healthy, Errors or Idle, based on recent activity on the endpoint. |
| Created | When the endpoint was created. |
| Actions | Send test event, Rotate secret, Pause / Activate, Delete. |
| Action | What it does |
|---|---|
| Send test event | Sends a sample event through the endpoint and shows a success or failure toast (with the response code or error). Use it to confirm the endpoint is reachable and configured correctly. |
| Rotate secret | Issues a new secret for the endpoint. The current secret stops working immediately, so update the sending product straight away. You are asked to confirm. |
| Pause / Activate | Temporarily stop accepting events, or resume. |
| Delete | Removes the endpoint; its URL stops working. You are asked to confirm. |
Endpoints cannot be edited after creation — to change the authentication mode or allowlist, create a new webhook and delete the old one.
Send events to a webhook
From the sending product, POST JSON to the Endpoint URL using the authentication you configured:
- Basic Auth —
Authorization: Basic …with the username and password. - JWT (Bearer Token) —
Authorization: Bearer <token>signed with the JWT secret. - Custom Header — the header name and value you set (for example
X-API-Key: …). - HMAC Signature — an
X-Webhook-Signatureheader containing the HMAC-SHA256 of the request body computed with the HMAC secret. - None — no auth headers; only the IP allowlist (if set) applies.
Paused endpoints do not accept events until you activate them again.
Events received through the webhook are attributed to the connection it belongs to. Query them from the query workspace by selecting that connection, or ask Scout about them.
Test a webhook
Use Send test event in the endpoint's row. A success toast confirms the test went through (with the response code when available); a failure toast shows the error. If a test fails, check that the endpoint is active and that your allowlist and authentication settings match what the sender uses.
Next steps
- Connections — the connection page the Webhooks card lives on
- OCSF — the schema Huntbase normalises ingested alerts to
- Query workspace — query ingested events
- API reference — manage webhooks programmatically